Adding a New Bequest
UNDER REVIEW
To add a bequest, you need to do the following:
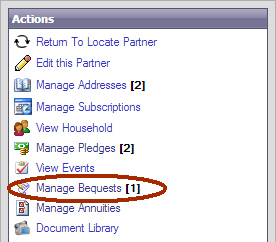
- Click on the
Manage Bequests link from
a partner record:
The Bequests page will be displayed: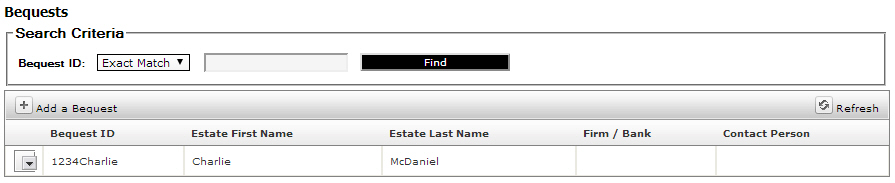
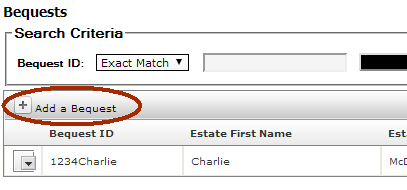
- Click on the
Add a Bequest link:
The following page will be displayed: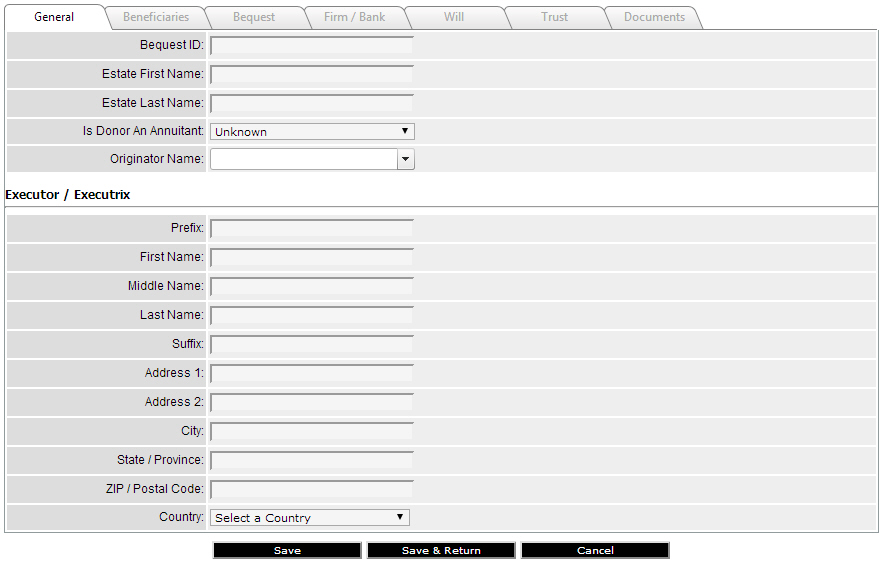
- Enter the general
information needed for the bequest in the General
tab:
- Enter the identifier to use for this bequest in the Bequest ID text field. The Bequest ID text field is a free-form field that can accept any data up to 50 characters in length.
- Enter the first and last name of the individual for the estate in the Estate First Name and Estate Last Name text fields.
- Specify whether
or not the partner has an existing annuity contract with your
organization in the Is Partner
An Annuitant dropdown menu. Currently, the following
options are available:
- Choose Unknown if it is not known whether or not the partner has an existing annuity contract with your organization.
- Choose Yes if the partner has an existing annuity contract with your organization.
- Choose No if the partner does not have an existing annuity contract with your organization.
- Choose the name of the originator from the Originator Name dropdown menu. The available names will depend on the way your database is set up.
- Enter the Executor / Executrix information:
- Enter the prefix for the executor in the Prefix text field.
- Enter the executor's first name in the First Name text field.
- Enter the executor's middle name in the Middle Name text field.
- Enter the executor's last name in the Last Name text field.
- Enter the executor's suffix in the Suffix text field.
- Enter the executor's mailing address in the Address 1 and Address 2 text fields.
- Enter the executor's city in the City text field.
- Enter the executor's state in the State / Province text field.
- Enter the executor's zip code in the ZIP / Postal Code text field.
- Choose the executor's country from the Country dropdown menu.
- Click on the
Beneficiaries tab, which provides
information about the beneficiaries. The Beneficiaries
tab will look like the following:

- Click on the
Add new record link to add
a new record:
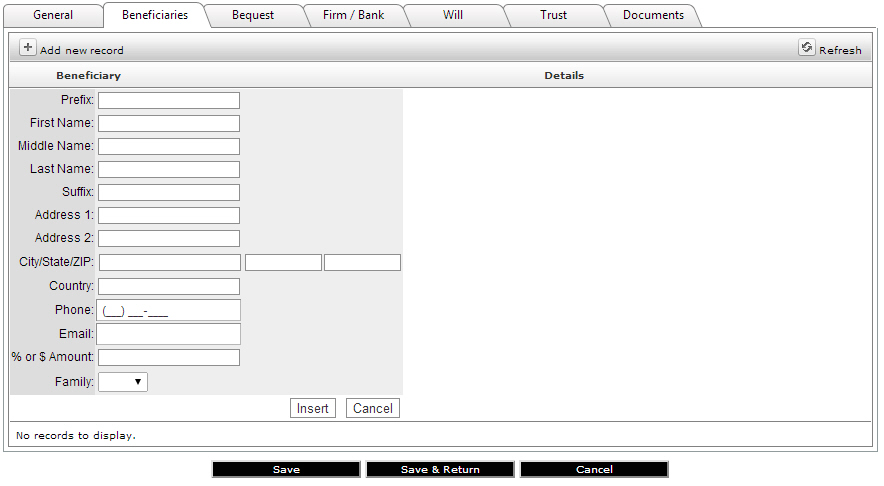
- Enter the information into the Beneficiaries tab:
- Enter the prefix for the beneficiary in the Prefix text field.
- Enter the beneficiary's first name in the First Name text field.
- Enter the beneficiary's middle name in the Middle Name text field.
- Enter the beneficiary's last name in the Last Name text field.
- Enter the beneficiary's suffix in the Suffix text field.
- Enter the beneficiary's mailing address in the Address 1 and Address 2 text fields.
- Enter the beneficiary's city, state, and zip code in the three provided text fields for City/State/ZIP.
- Enter the beneficiary's country in the Country text field.
- Enter the beneficiary's telephone number in the Phone text field.
- Enter the beneficiary's email address in the Email text field.
- Enter the percentage or dollar amount that the beneficiary is to receive in the % or $ Amount text field.
- Choose whether or not the beneficiary is a family member by choosing No if the beneficiary is not family and Yes if the beneficiary is family from the Family dropdown menu.
- Click on the Insert button to add the beneficiary. You can repeat these steps as many times as necessary to add all the beneficiaries.
- Click on the
Bequest tab, which provides
detailed information about the bequest. The Bequest
tab will look like the following:
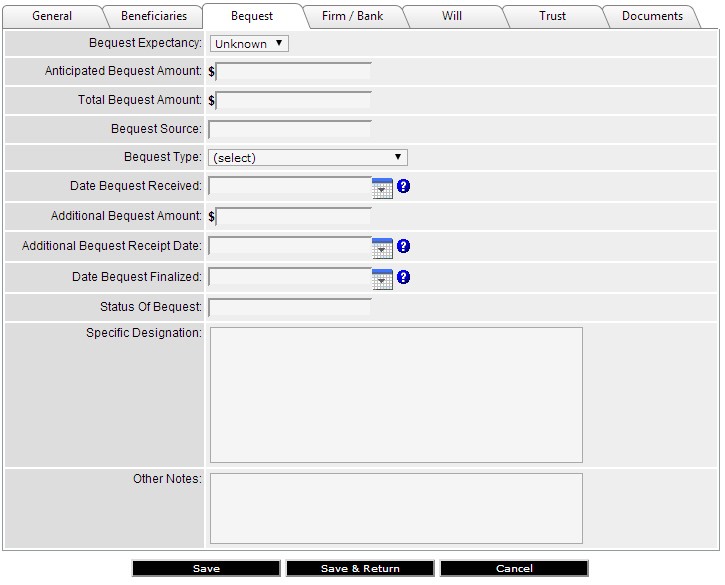
- Enter the information
into the Bequest tab:
- Choose whether
or not the bequest is expected from the Bequest
Expectancy dropdown menu. Currently, the following
options are available:
- Choose Unknown if it is not know what the bequest expectancy is.
- Choose Yes if you expect to receive the bequest.
- Choose No if you do not expect to receive the bequest.
- Enter the anticipated dollar amount of the bequest in the Anticipated Bequest Amount text field.
- Enter the dollar amount of the total bequest in the Total Bequest Amount text field.
- Enter the source in the Bequest Source text field.
- Choose the
type of bequest from the Bequest
Type dropdown menu. Currently, the following options
are available:
- Choose Will if the bequest is coming from a will.
- Choose Insurance if the bequest is coming from insurance.
- Choose IRA if the bequest is coming from an IRA.
- Choose Stock if the bequest is coming from stock.
- Choose Property if the bequest is coming from property.
- Choose Trust if the bequest is coming from a trust.
- Choose Retirement if the bequest is coming from a retirement account.
- Choose Annuity if the bequest if coming from an annuity.
- Choose Trust Charitable Remainder if the bequest is coming from the remainder of a charitable trust.
- Choose Trust Charitable Lead if the bequest is coming from the lead of a charitable trust.
- Choose Trust Charitable Unitrust if the bequest is coming from a unitrust of a charitable trust.
- Choose Trust Charitable Revocable if the bequest is coming from a revocable charitable trust.
- Choose Trust Charitable Irrevocable if the bequest is coming from an irrevocable charitable trust.
- Enter the date the bequest was received in the Date Bequest Field in the MM/DD/YYYY format. You can also use the calendar icon to select the date.
- Enter any additional bequests in the Additional Bequest Amount text field.
- Enter the date when the additional bequest amount was received in the Additional Bequest Receipt Date text field in the MM/DD/YYYY format. You can also use the calendar icon to select the date.
- Enter the date when the bequest was finalized in the Date Bequest Finalized text field in the MM/DD/YYYY format. You can also use the calendar icon to select the date.
- Enter the status in the Status Of Bequest text field.
- Enter information about any specific designations that the partner made for the money in the Specific Designation text field.
- Enter any other notes in the Other Notes text field.
- Choose whether
or not the bequest is expected from the Bequest
Expectancy dropdown menu. Currently, the following
options are available:
- Click on the
Firm / Bank tab. The Firm / Bank tab will look like the
following:
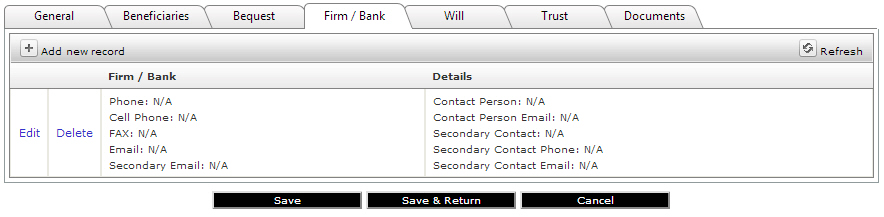
- Click on the
Edit link to enter the firm
/ bank information for the first firm or bank. Click on the
Add new record link to enter
information for the subsequent firms/banks. The following will be
displayed:
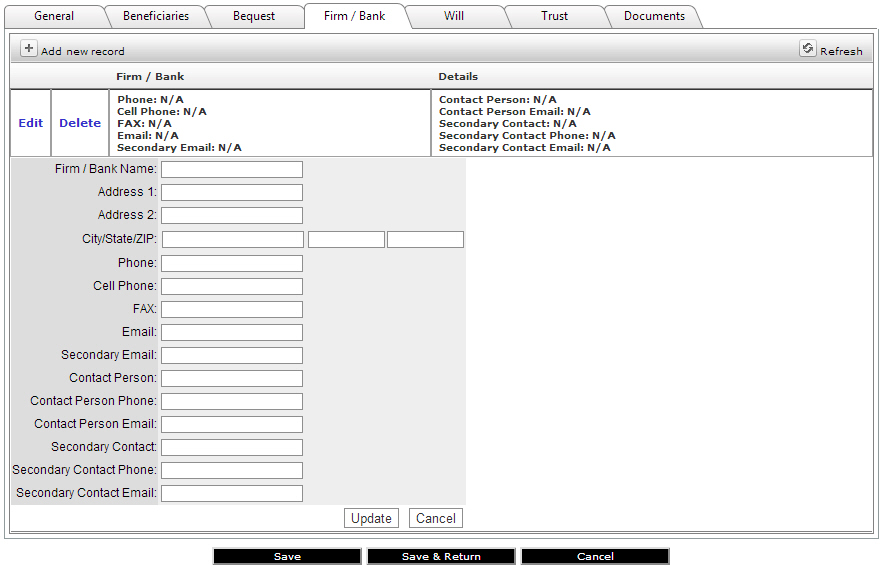
- Enter the information
into the fields:
- Enter the name of the financial institution handling the bequest in the Firm / Bank Name text field.
- Enter the address information into the Address 1 and Address 2 text fields.
- Enter the name of the city, state and zip code in the three provided text fields for City/State/ZIP.
- Enter the telephone number in the Phone text field.
- Enter the mobile number in the Cell Phone text field.
- Enter the facsimile number in the FAX text field.
- Enter the email address in the Email text field.
- Enter the secondary email address in the Secondary Email text field.
- Enter the name of the contact person in the Contact Person text field.
- Enter the telephone number for the contact person in the Contact Person Phone text field.
- Enter the email address for the contact person in the Contact Person Email text field.
- Enter the name of the secondary contact person in the Secondary Contact text field.
- Enter the telephone number for the secondary contact person in the Secondary Contact Phone text field.
- Enter the email address for the secondary contact person in the Secondary Contact Email text field.
- Click on the Update button to add the firm or bank.
- Click on the
Will tab. The Will
tab will look like the following:

- Enter the information
into the Will tab:
- Enter the will date in the Will Date text field in the MM/DD/YYYY format. You can also use the calendar icon to select the date.
- Enter the information about the county and stated that the will was filed in in the County/State Filed in text field.
- Enter the date of any amendments to the will in the Date Of Amendments text field in the MM/DD/YYYY format. You can also use the calendar icon to select the date.
- Enter the date of the partner's death in the Date Of Death text field in the MM/DD/YYYY format. You can also use the calendar icon to select the date.
- Enter the age of the partner at death in the Age of Partner at Death text field.
- Enter the date your organization was notified of the death in the Date Notified text field in the MM/DD/YYYY format. You can also use the calendar icon to select the date.
- Choose who you were notified by using the Notified By dropdown menu. You have the following options: Attorney, Executor, Spouse, or Trustee.
- Click on the
Trust tab. The Trust
tab will look like the following:
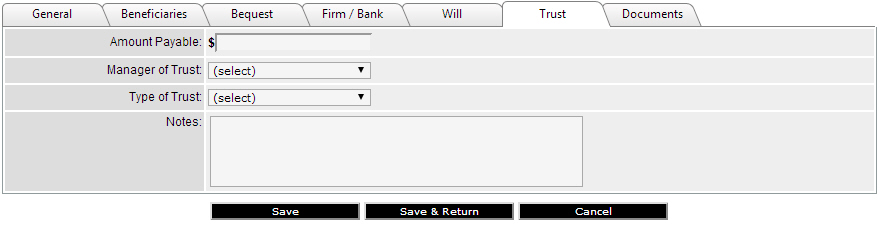
- Enter the information
into the Trust tab:
- Enter the dollar amount of the trust in the Amount Payable text field.
- Choose the manager of the trust from the Manager of Trust dropdown menu. You have the following options: Attorney, Firm, or Trust.
- Choose the type of trust from the Type of Trust dropdown menu. You have the following options: Revocable or Irrevocable.
- Enter any notes about the trust in the Notes text field.
- Click on the
Documents tab. The Documents
tab will look like the following:
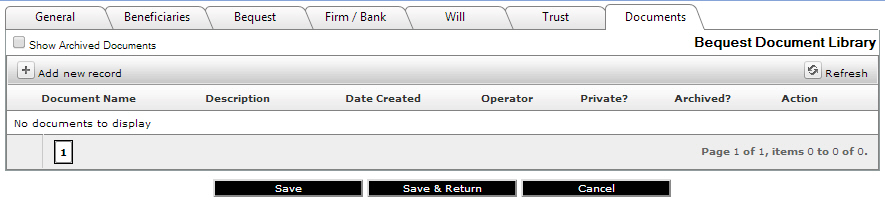
- Click on the Add new record link.
- Upload the supporting documents.
- Choose one of
the following options:
- Click on the Save button to save the information and continue entering the bequest information.
- Click on the Save & Return button to save the information and return to the main Bequests page.
- Click on the Cancel button to cancel the bequest and return to the main Bequests page.

|
Copyright ©2017 Aegis Premier Solutions |